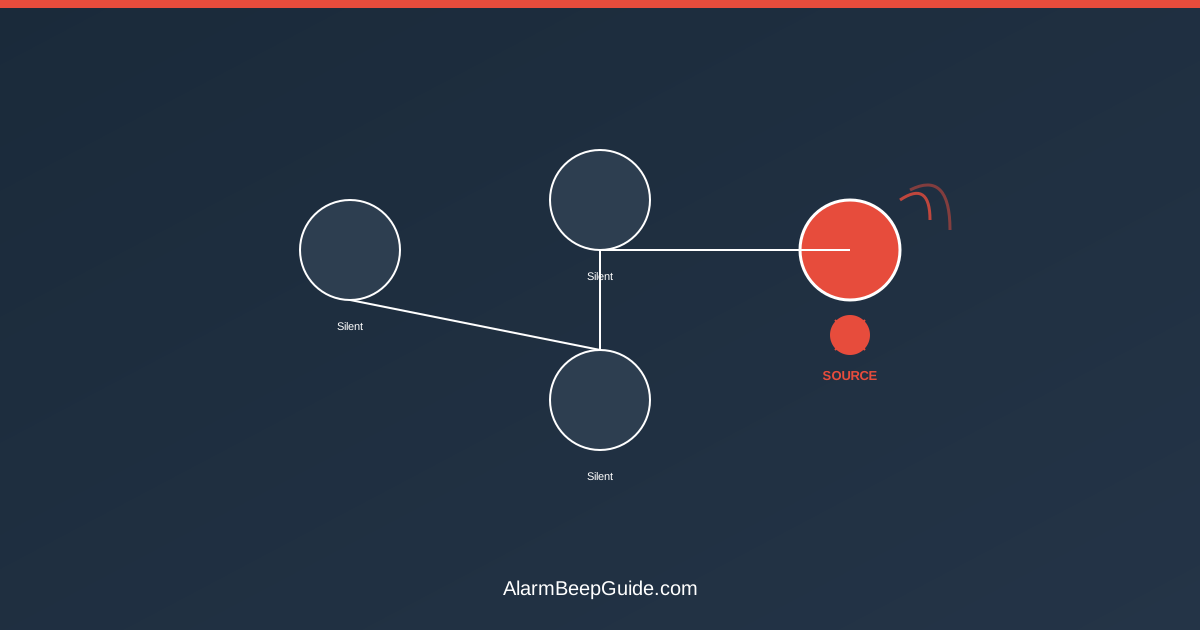
You know the scenario. It’s 2 a.m. and a smoke detector starts chirping. You get up, walk to the hallway, and find three detectors on the ceiling — all hardwired, all interconnected, and all staring at you silently by the time you get there. Twenty seconds later, the chirp comes again, but you can’t tell which one made it.
Interconnected smoke alarms are designed to all sound together when one detects danger. That’s a life-saving feature during a fire. But when one unit has a low battery or a fault, the system makes it nearly impossible to figure out which detector is the culprit.
Here’s the practical method for finding the source and fixing it.
Why Interconnected Alarms All Beep at Once
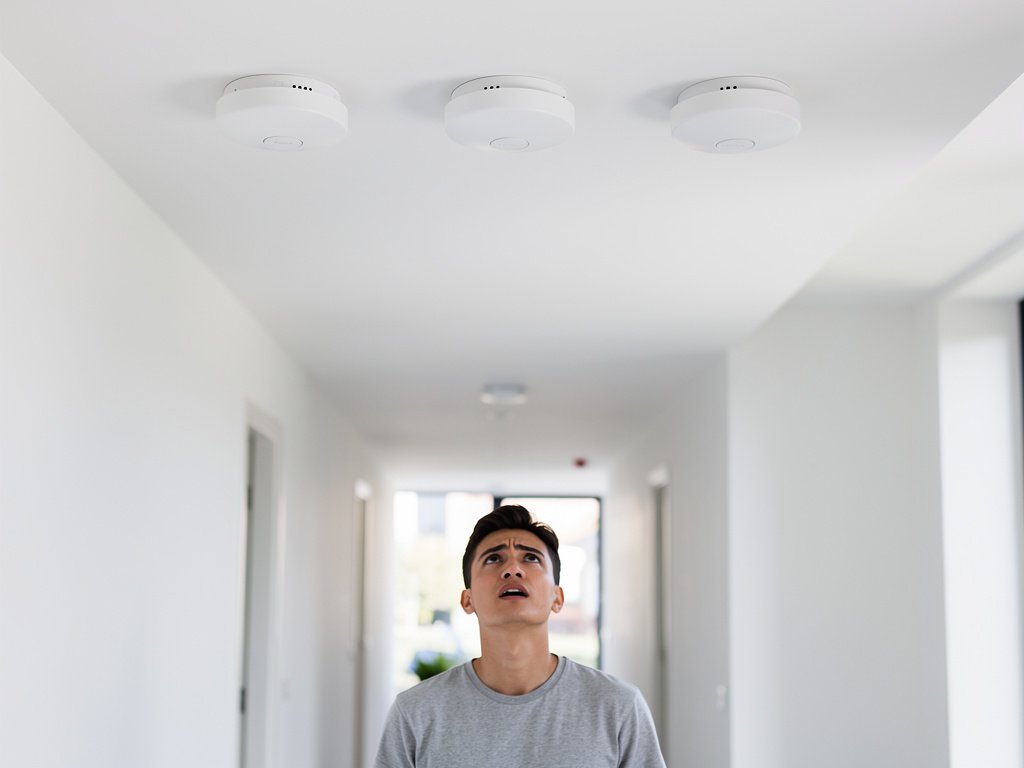
Understanding why they all sound together helps you understand how to isolate the problem.
Hardwired smoke detectors are connected by a third wire — the interconnect wire — in addition to the hot and neutral wires that provide power. When one alarm detects smoke or CO, it sends a signal through the interconnect wire telling every connected alarm to sound simultaneously. This ensures you hear the alarm from anywhere in the house.
The problem: when one unit has a low backup battery, reaches end-of-life, or has a sensor fault, it may chirp. That chirp is local to that unit — but if the unit also sends a fault signal through the interconnect wire, other units may chirp too. The result is a chorus of chirps and no clear indication of which detector started it.
The Quick Method: Isolating the Source
Before you start disconnecting things, try the quickest approach:
Stand directly under each detector when it chirps. The chirp is loud but directional. The unit closest to you when the chirp sounds is likely the source. This sounds obvious, but it works — the source unit is noticeably louder when you’re within 2-3 feet of it.
Watch the LED indicators. Every smoke detector has an LED light that flashes. The source unit’s LED will behave differently:
- Flashing red between chirps: This is the unit that’s triggering the alarm
- Solid or steady green blink: This unit is responding to the interconnect signal (not the source)
- No light change: This unit is dormant
The “hush and wait” technique. Press the hush/test button on each detector one at a time. When you press the button on the source unit, the chirping will stop or change pattern. When you press the button on a responding unit, nothing changes.
Method 1: LED Light Identification
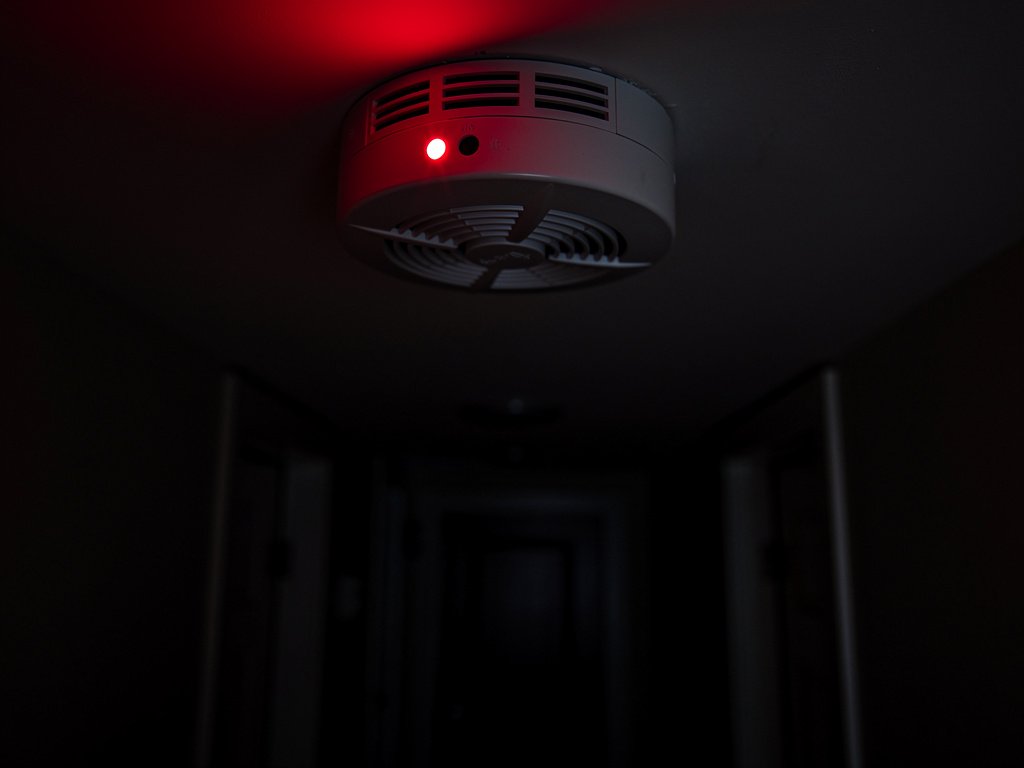
This is the most reliable non-destructive method. Here’s how to do it:
- Wait in the area where the detectors are (bring a chair or ladder).
- When the chirp happens, look at every detector’s LED light.
- The source unit will have a different flash pattern — usually a rapid red blink or a red blink followed by a pause. The other units will either have no change or a steady green/normal flash.
- If you can’t see the LEDs from the ground, use your phone’s camera zoom or a pair of binoculars.
Most modern detectors (First Alert, Kidde, Nest) use this convention: the source unit’s LED blinks red rapidly, while responding units blink more slowly or not at all.
Brand-specific LED patterns:
- First Alert: The source unit flashes red rapidly (once per second). Non-source units flash green every 30 seconds or not at all. If the green light is blinking and chirping, that unit is the source.
- Kidde: The source unit has a fast red flash pattern. Other units may show a slow green flash. See our Kidde hardwired troubleshooting guide for Kidde-specific patterns.
- Nest Protect: The source unit’s light ring glows or pulses. Check the Nest Protect chirping guide for Nest-specific indicators.
If you have a mix of brands on the same interconnect circuit (which is not recommended but does happen in older homes), the LED patterns may differ. Focus on whichever unit is doing something different from the others.
Method 2: The Disconnect Test
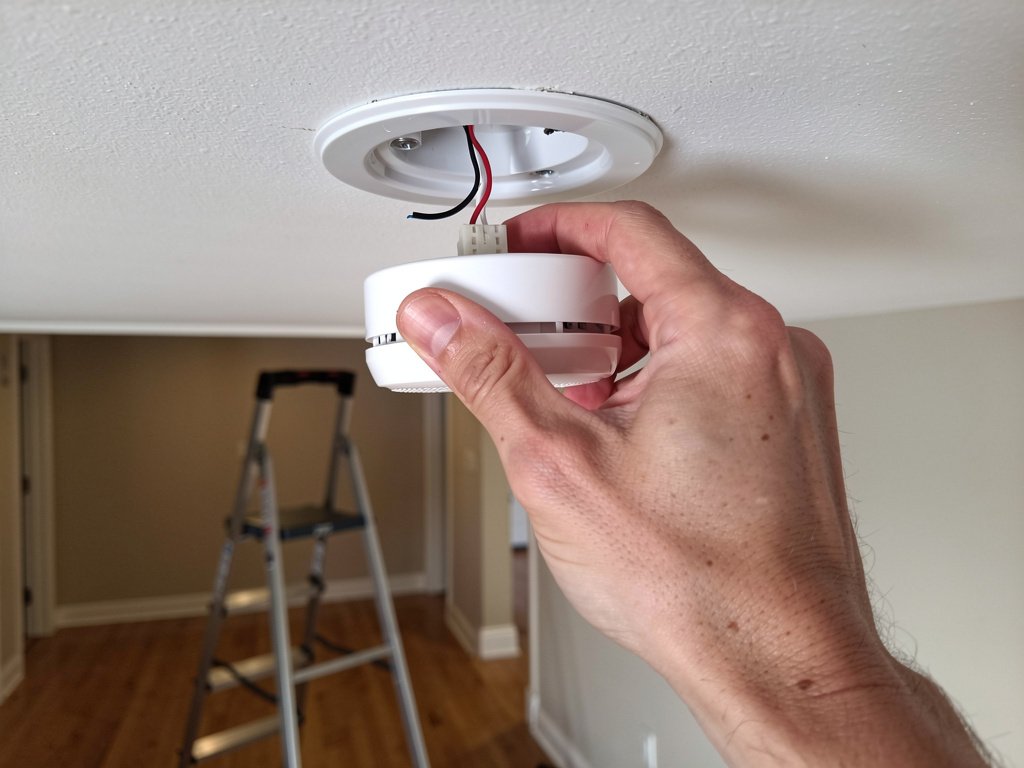
If the LED method doesn’t work (some older units don’t have visible LEDs), you’ll need to disconnect units one at a time. This requires caution with hardwired systems.
- Turn off the circuit breaker that powers the smoke detectors. This is critical — never disconnect a hardwired smoke detector while it’s live.
- Remove one detector from its mounting plate (twist counterclockwise) and disconnect the wiring harness.
- Turn the breaker back on.
- Wait and listen. If the chirping stops, the disconnected unit was the source. If it continues, the source is still among the connected units.
- Repeat with the next unit until the chirping stops.
This method takes time but is 100% reliable. The tradeoff is that you’re disconnecting detectors, which means you’re temporarily unprotected in that area. Work quickly and reconnect any non-source units immediately.
Safety note: If you live in a multi-story home, work on one floor at a time. Start with the floor where the chirping seems loudest. Don’t disconnect all detectors simultaneously — only disconnect one at a time so the others remain active.
Alternative for large homes: If you have 6+ interconnected detectors, start by disconnecting the units at the two ends of the circuit (usually the attic/basement and the one farthest from the electrical panel). If the chirping stops, the source was one of those two. If it continues, you’ve narrowed the field and can work through the middle units.
Method 3: The Battery Pull Test
For battery-only interconnected systems (less common, but used in some apartment buildings and older homes):
- Remove one detector from its mounting plate.
- Pull the battery.
- Wait. If the chirping stops, that was the source. If it continues from other units, reconnect the battery and move to the next detector.
This method doesn’t work well for hardwired systems because the backup battery isn’t the only power source — the detector gets power from the wiring even with the battery removed. For hardwired units with backup batteries, the disconnect test (Method 2) is more reliable.
For 10-year sealed battery detectors: You can’t pull the battery on a sealed unit. If the chirping is coming from a sealed detector, it’s likely an end-of-life warning. Check the end-of-life chirp guide and prepare to replace the unit entirely.
What the Source Unit’s Beep Pattern Means
Once you’ve found the culprit, the beep pattern tells you what’s wrong:
- Single chirp every 30-60 seconds: Low battery (most common). Replace the battery. For sealed 10-year units, this means the unit is reaching end-of-life.
- Three beeps, pause, three beeps: Smoke alarm condition or smoke sensor fault. Check for dust, clean the unit, or replace it.
- Four beeps, pause, four beeps: Carbon monoxide alarm condition or CO sensor fault. Ventilate the area immediately and check for CO sources.
- Rapid continuous beeping: Active fire alarm. Check for smoke or fire.
- Chirp with a spoken voice (Nest Protect): The unit will say what’s wrong (“Low battery,” “Heads-up, there’s smoke in the kitchen”).
For a full breakdown of every beep pattern, see our combination smoke and CO alarm beep pattern guide.
Fixing the Problem Unit
Once you know which detector is the source and what the beep pattern means, here’s how to fix it:
Low battery: Replace with a fresh battery of the correct type (most use 9V or AA). For sealed 10-year units, the battery isn’t replaceable — the entire unit needs replacing.
End-of-life: If the detector is more than 10 years old, it’s reached its certified lifespan. Check the replacement cost guide for pricing, then replace the unit.
Dust or debris: Clean the detector using the method in our smoke detector cleaning guide. Dust in the sensor chamber is a common cause of false chirps and false alarms.
Hardwired fault: If the detector has power but still chirps after battery replacement and cleaning, the unit may have a wiring fault or internal failure. See our hardwired smoke detector troubleshooting guide for detailed steps. Common hardwired faults include loose interconnect wiring, corroded terminals, or a failing backup battery that needs replacement even though the unit is powered by the house circuit.
Power outage after-effects: If the chirping started after a storm or power outage, the backup battery may have drained during the outage. See our guide on beeping after a power outage for the specific reset steps.
When to Replace the Problem Unit
If the source detector is more than 10 years old, replace it — don’t waste time trying to fix it. The manufacture date is printed on the back. If you can’t find it, check our guide on how long smoke detectors last for tips on identifying your detector’s age.
If the detector is less than 10 years old and the chirping is caused by a low battery, replacing the battery should fix it. But if the chirping continues after a new battery, the unit has an internal fault and needs replacement.
FAQ
Why do all my smoke detectors beep at the same time even when only one has a low battery? Interconnected smoke detectors share a signal wire. When one unit chirps, it can trigger other units to chirp as well. The source unit is the one with the actual problem — the others are just echoing the signal.
Can I disconnect a hardwired smoke detector myself? Yes, but you must turn off the circuit breaker first. Never disconnect a hardwired detector while it’s powered. The wiring harness uses a quick-disconnect plug that separates easily once the unit is off the mounting plate.
Is it dangerous to leave a chirping smoke detector? Not immediately dangerous, but don’t ignore it. A chirping detector is telling you something is wrong — usually a low battery or end-of-life. If the battery dies completely, the detector won’t work during a fire. Fix it as soon as possible.
Why does the chirping stop when I get up to check, then start again? The chirp is often on a 30-60 second cycle. By the time you reach the detectors, you’re between chirps. Stand still and wait — the next chirp will come, and you’ll be able to identify which unit it came from.
Should I replace all my interconnected detectors at once? If they’re all the same age (usually installed as a set), they’ll all reach end-of-life around the same time. It’s more efficient to replace them all at once than to replace one per year for 10 years. But if only one is chirping and the others are within their lifespan, just replace the one.
Can I mix different brands on the same interconnect circuit? Technically, many brands use the same interconnect protocol and will work together. However, manufacturers strongly recommend using the same brand throughout. Mixing brands can cause unpredictable chirping behavior, false alarms, and may void warranties. If you’re replacing one unit, try to match the existing brand.
What if only one detector is beeping and the others aren’t? If you have hardwired detectors but only one is chirping, it’s likely not an interconnect issue — that specific unit has a problem. It could be a low backup battery, dust in the sensor, or end-of-life. Follow the hardwired detector troubleshooting steps for that specific unit.
Why does my detector chirp once after I replace the battery? This is normal. Most detectors emit a single confirmation chirp when power is restored. If it continues chirping after 30 seconds, there may be another issue — see our guide on chirping after a battery change.
Silence Restored
Finding the source detector in an interconnected system is frustrating, but the isolation method works every time. Start with the LED approach — it’s the fastest. If that doesn’t work, the disconnect test is foolproof. Once you’ve found the source, fixing the actual problem (low battery, end-of-life, dust) is straightforward.
The key takeaway: don’t ignore a chirping detector, even if you can’t immediately tell which one it is. The longer it chirps, the more likely it is to progress to a full alarm or fail entirely.