Your smoke detector keeps going off when there’s no smoke. You’ve replaced the battery. You’ve checked the age. But it still chirps or sounds a false alarm at the worst possible moment.
The most likely culprit? Dust.
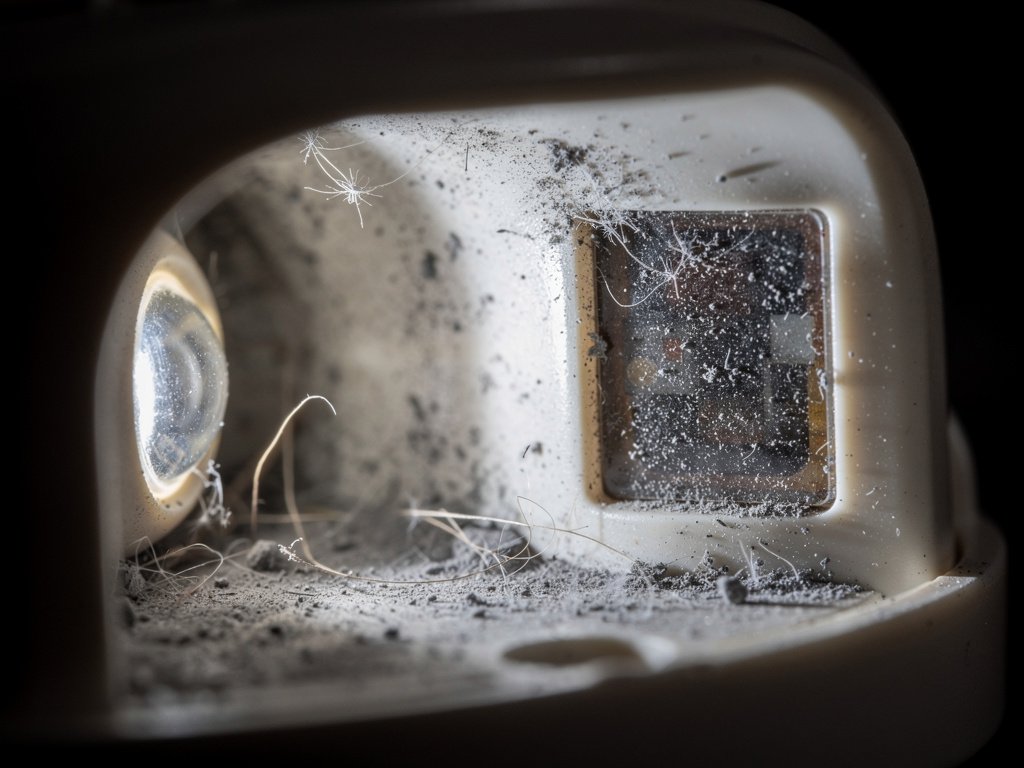
Dust is the single most common cause of smoke detector false alarms and mysterious chirping. It gets inside the sensor chamber, blocks the light path in photoelectric detectors, interferes with the ionization chamber in ionization detectors, and tricks your alarm into thinking there’s smoke when there isn’t.
The fix is simple, free, and takes about ten minutes per detector. Here’s exactly how to do it safely.
Why Dust Causes False Alarms and Chirping
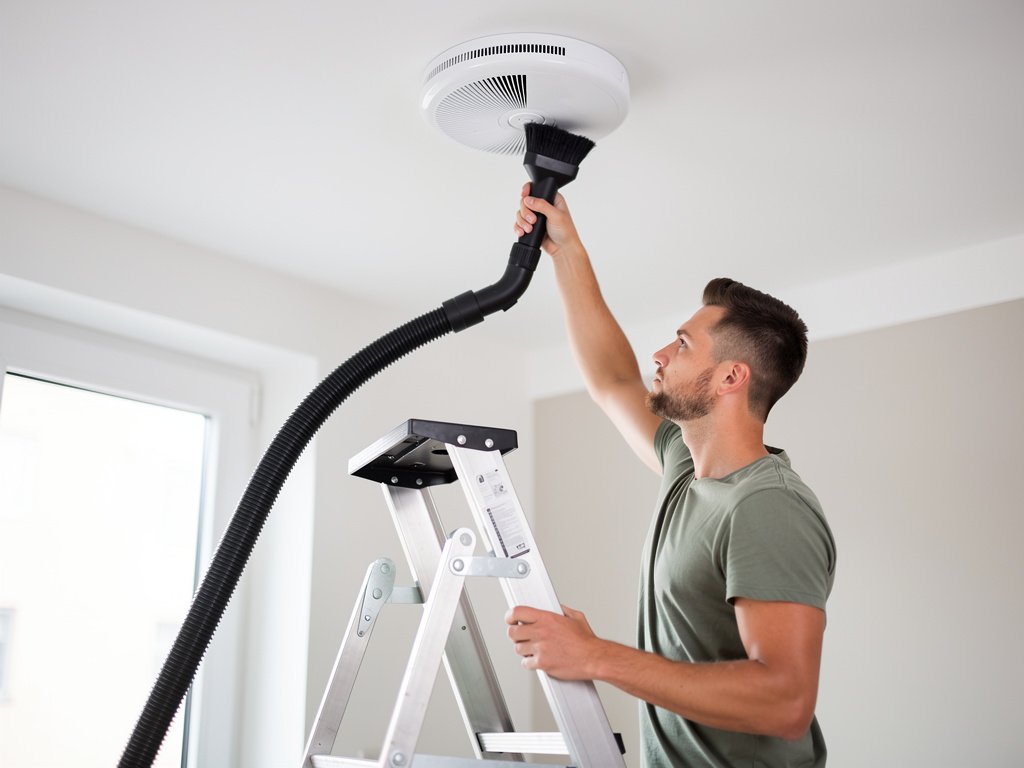
To understand why cleaning works, it helps to understand how smoke detectors actually detect smoke:
Photoelectric smoke detectors (the most common type in modern homes) contain a light source and a light sensor arranged at an angle. Under normal conditions, the light beam doesn’t hit the sensor. When smoke enters the chamber, the smoke particles scatter the light toward the sensor, triggering the alarm.
Dust particles are similar in size to smoke particles. When dust accumulates inside the sensor chamber, it scatters light the same way smoke does — and the detector can’t tell the difference. The result: a false alarm at 3 a.m. or a chirping sound that won’t stop.
Ionization smoke detectors (less common in new installations but still found in older homes) use a small amount of radioactive material to create a tiny electrical current between two plates. Smoke disrupts this current, triggering the alarm. Dust can also disrupt the current — though ionization detectors are somewhat less sensitive to dust than photoelectric ones.
Combination smoke and CO detectors have an additional sensor — an electrochemical cell — that detects carbon monoxide. This sensor is less susceptible to dust, but dust can still block the vents that allow air to reach the sensor, causing delayed or inaccurate readings.
What You’ll Need
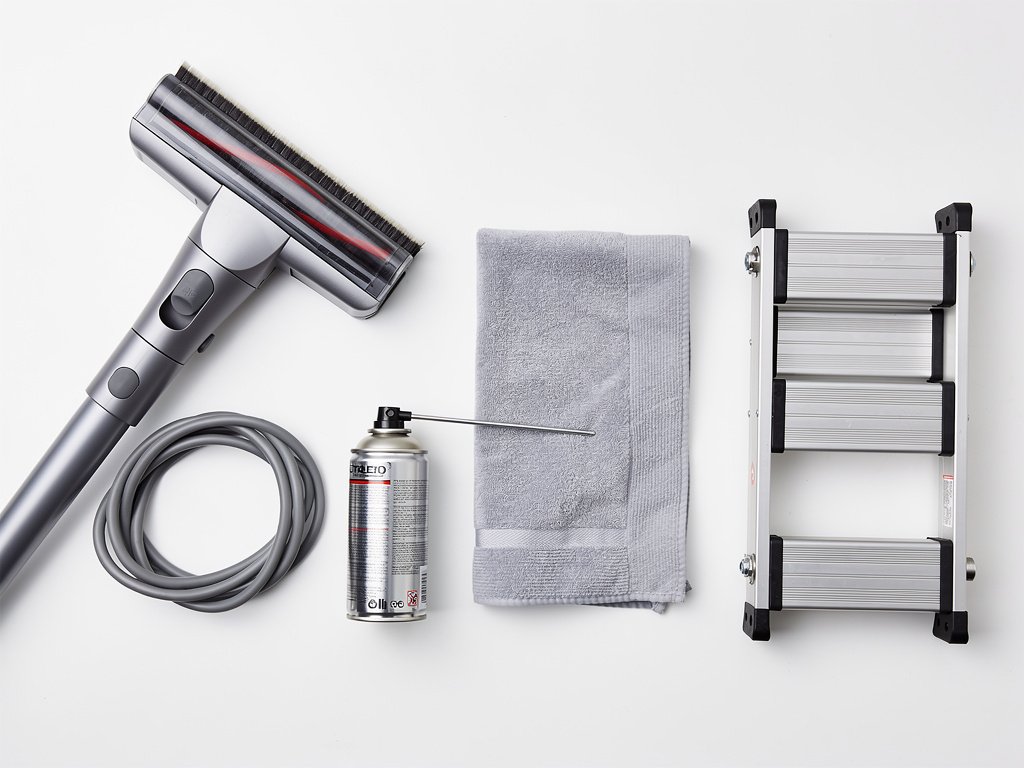
Gather these items before you start:
- A vacuum cleaner with a soft brush attachment (the brush is important — it loosens dust without scratching the sensor)
- Compressed air (a can of air duster, or an air compressor with a blow gun at low pressure)
- A microfiber cloth or soft, lint-free cloth
- A step ladder or sturdy stool
- No chemicals, no cleaning sprays, no water — these can damage the sensor permanently
For hardwired detectors: make sure you know which circuit breaker controls the smoke detectors so you can turn off the power before removing the unit.
Step-by-Step: Cleaning a Smoke Detector
Step 1: Power Down
For battery-powered detectors: just remove the detector from its mounting plate by twisting counterclockwise. No power-down needed — but remove the battery to prevent the detector from chirping during cleaning.
For hardwired detectors: turn off the circuit breaker that powers the smoke detectors. This is critical — you should never disconnect a hardwired detector while it’s energized. Once the breaker is off, twist the detector counterclockwise and disconnect the wiring harness.
Step 2: Remove the Detector From the Mount
Twist the detector off its mounting plate. For hardwired units, disconnect the wiring harness plug. For battery-powered units, open the battery compartment and remove the battery.
Step 3: Vacuum the Exterior Vents
Attach the soft brush to your vacuum cleaner. Run the brush over the exterior vent openings of the detector — these are the slotted or mesh openings around the perimeter where air enters the sensor chamber. Use gentle, circular motions.
You’ll be surprised how much dust comes out of these vents, especially if the detector is near a kitchen, bathroom, or HVAC register.
Step 4: Remove the Cover (If Possible)
Some smoke detectors have a removable outer cover that snaps or screws off. If yours does, remove it carefully — this gives you direct access to the sensor chamber.
If your detector is a sealed unit (common with 10-year battery detectors), you cannot remove the cover. Skip to Step 5 and use compressed air through the vents.
Step 5: Vacuum or Blow Out the Sensor Chamber
If you removed the cover, use the vacuum’s soft brush attachment to gently clean the inside of the sensor chamber. Don’t press hard — just let the brush glide over the surfaces.
If you can’t remove the cover (or if the vacuum doesn’t reach everything), use compressed air. Hold the can upright (tilting it can release liquid propellant) and give short, gentle bursts through the vent openings. Do this over a trash can or outside, because a surprising amount of dust will come out.
Important: Don’t use compressed air at high pressure directly on the sensor. A gentle burst is enough. High-pressure air can damage the sensor components or push dust deeper into the chamber.
Step 6: Wipe the Exterior
Use a dry microfiber cloth to wipe down the outside of the detector. This removes any remaining surface dust and prevents it from being pulled into the vents when the detector is reinstalled.
Step 7: Reinstall and Test
Reinsert the battery, reconnect the wiring harness (for hardwired units), and mount the detector back on the plate. Turn the breaker back on. Press and hold the test button for 5-10 seconds to confirm the detector is working properly.
If the detector produces a loud, sustained alarm during the test, it’s working. If it produces a weak sound, no sound, or continues chirping after the test, the sensor may be permanently degraded and the detector needs replacement.
Step-by-Step: Cleaning a CO Detector
Carbon monoxide detectors use an electrochemical sensor that is more delicate than a smoke sensor. The cleaning process is similar, but with extra caution:
- Power down and remove the same way as a smoke detector.
- Vacuum the exterior vents gently with the soft brush attachment.
- Do NOT use compressed air directly on the CO sensor. The electrochemical cell can be damaged by high airflow. Instead, hold the compressed air can 12+ inches away and give very light bursts toward the vent openings — not directly into the sensor.
- Wipe the exterior with a dry microfiber cloth.
- Reinstall and test using the test button.
If your CO detector still chirps after cleaning, it may be reaching end of life. CO detectors have a 5-7 year lifespan (shorter than smoke detectors’ 10 years), and the sensor degrades over time. Check the CO detector beeping patterns guide to determine whether the chirp is a low-battery warning, an end-of-life signal, or an actual CO alert.
One additional note about combination smoke and CO detectors: these units have both a photoelectric smoke sensor and an electrochemical CO sensor in the same housing. When cleaning a combo unit, clean the smoke sensor chamber first (using the steps above), then clean the CO sensor area gently. The combination alarm beep pattern guide can help you tell which sensor is triggering the alert — 3 beeps for smoke, 4 beeps for CO.
How Often Should You Clean Smoke Detectors?
The recommended cleaning schedule is:
- Every 6 months: Vacuum the exterior vents of all detectors. This is the minimum maintenance schedule.
- After renovations or construction: Dust from drywall, wood cutting, or demolition will overwhelm your detectors. Clean them immediately after any construction work.
- After dust storms or high-wind events: If you live in a dry climate, dust storms can push fine particles into your home and into your detectors.
- When false alarms increase: If your detectors start giving false alarms more frequently than usual, it’s time for a deep cleaning — even if it hasn’t been 6 months yet.
A good habit: clean your detectors when you change your clocks for daylight saving time, at the same time you replace batteries (if your detectors have replaceable batteries).
When Cleaning Doesn’t Fix the Problem
Cleaning resolves dust-related false alarms and chirping. But if the detector continues to misbehave after a thorough cleaning, the problem is something else:
- End of life: If the detector is more than 10 years old (or more than 5-7 years for a CO detector), the sensor is at the end of its certified lifespan. No amount of cleaning will fix it. See our end-of-life chirp guide to confirm and replace.
- Insect infestation: Spiders and small insects can crawl into the sensor chamber and build webs that trigger false alarms. If you see webbing or dead insects when you remove the cover, clean them out with the vacuum brush and consider placing insect traps near the detector (not inside it).
- Sensor degradation: Over time, the photoelectric sensor or ionization chamber degrades even without dust. This is normal aging — the sensor simply becomes less reliable. If the detector tests fine but still gives false alarms after cleaning, the sensor is likely degraded.
- Humidity or steam: If the detector is near a bathroom or kitchen, steam and humidity can trigger false alarms. This isn’t a dust problem — it’s a placement issue. Consider relocating the detector.
Preventing Dust Buildup
You can reduce how often you need to clean your detectors by minimizing the dust that reaches them:
- Don’t place detectors directly next to HVAC supply vents. The air from your heating and cooling system carries dust directly into the detector.
- Keep detectors at least 10 feet from kitchens. Cooking produces grease particles that stick to the sensor chamber and attract dust. See our false alarm prevention guide for more on kitchen placement.
- Run your HVAC fan on a regular schedule. A good air filter in your HVAC system removes dust from the air before it reaches your detectors.
- Keep detector vents clear. Don’t paint over the vents, don’t cover the detector, and don’t install it in a corner where air can’t circulate.
FAQ
Can I use cleaning spray or wipes on my smoke detector? No. Cleaning sprays, wet wipes, and household cleaners can damage the sensor. The photoelectric sensor is a precision optical component — any residue from cleaning products will interfere with the light path. Use only a dry vacuum brush and compressed air.
How do I know if dust is causing my false alarms? If the false alarms happen when there’s no cooking, no steam, and no smoke — and the detector is more than a few months old — dust is the most likely cause. You can confirm by cleaning the detector: if the false alarms stop after cleaning, dust was the problem.
Can dust cause my smoke detector to chirp every 30 seconds? Yes. Dust can trigger the fault signal that produces a chirp every 30 seconds, mimicking a low battery warning. If you’ve replaced the battery and the chirp continues, try cleaning the detector before replacing it.
Should I clean my smoke detector if it’s still under warranty? Yes. Cleaning is normal maintenance and won’t void the warranty. In fact, manufacturers expect you to clean your detectors — many user manuals include cleaning instructions. Don’t open the detector in a way that breaks any seals, and don’t use any tools inside the sensor chamber.
Can I use a hair dryer to blow dust out? We don’t recommend it. Hair dryers produce heat and can melt or warp the plastic sensor chamber. They also don’t provide the focused airflow that compressed air does. Stick with a vacuum and a can of compressed air.
Clean Detector, Quiet Home
Cleaning your smoke detectors is one of the simplest, cheapest home maintenance tasks — and it eliminates one of the most common causes of false alarms and mysterious chirping. Ten minutes per detector, twice a year, and you’ll dramatically reduce those 2 a.m. wake-up calls.
If cleaning doesn’t fix the problem, don’t ignore it. A detector that chirps or false-alarms after cleaning likely needs replacement. A detector that doesn’t respond to the test button after cleaning is unsafe and must be replaced immediately.